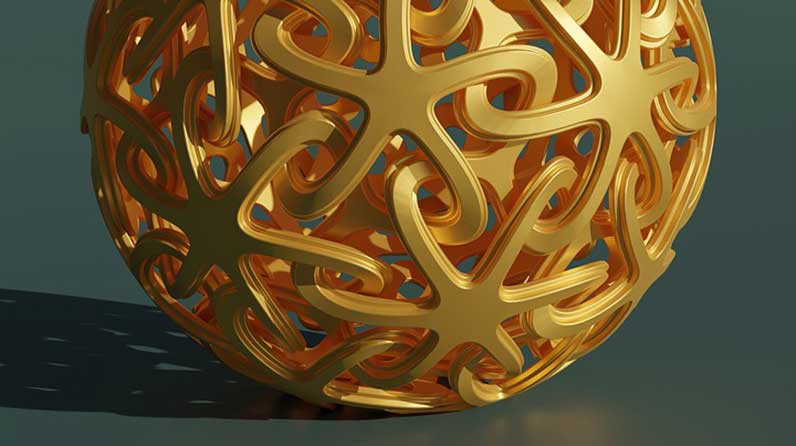
Maximizing Your 3D Printing Potential
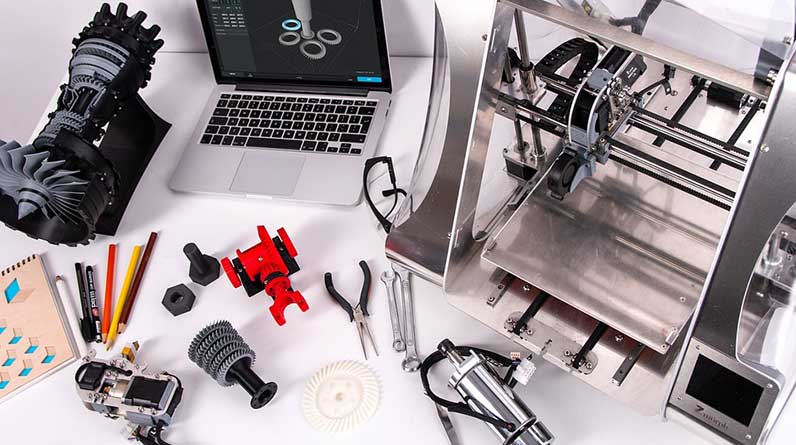
3D printing, or additive manufacturing, is a computer-based process that uses metal or plastics to bring a digital object (its CAD representation) into its physical form.
Often, 3D printers are used for prototyping and turning out production parts, but they can also be useful in medical applications. For instance, radiologists can create a three-dimensional replica of a patient’s spine for planning surgery; dentists can scan a broken tooth to make a crown that matches the patient’s anatomy.
1. Use the Right Materials
Choosing the right materials for your project is key to getting the best results. This may sound simple, but the fact is there are many different 3D printing materials available and each has unique properties and constraints.
The best way to choose the right material for your project is to consider the mechanical or physical characteristics that are most important for the part’s application.
Then you can use the Material Wizard to narrow down your choices and find a material that meets your specific requirements. This helps you avoid waste and ensures that your project will be a success.
There are many different materials to choose from, ranging from thermoplastics like PP (Polypropylene) and TPE (Thermoplastic Elastomer) to biocompatible and structural materials. These options can vary based on the manufacturing process you choose, as well as your timeline and end-use goal.
For example, if you are looking to 3D print an end-use part that will be exposed to extreme weather conditions, you should definitely consider using a material with good elasticity and strength, such as Polylactic Acid (PLA). PLA is very versatile and has a variety of applications, including medical devices, toys, and decorative pieces.
Another important consideration when selecting the right material for your project is the tensile strength of the material. The higher the tensile strength, the more stiff and resilient your project will be.
A few important tensile strengths to look for include ultimate tensile strength, tensile modulus, and compressive strength. All of these terms indicate the maximum stress that your material can withstand before breaking, which is especially useful for ensuring that your 3D-printed parts will hold up to the test of time and the elements.
Finally, if you are planning on printing replacement parts or support structures, try to incorporate rounded edges and chamfers into your designs. These rounded edges and chamfers not only look more natural but also help to prevent the part from warping during the printing process.
If you are new to 3D printing, it is important to note that this technology comes with a learning curve. However, with the right resources and knowledge, you can become an expert in no time.
2. Design for 3D Printing
3D printing is a great tool for testing your design ideas before they become production-ready. This is because it can transform complex designs into physical models and parts, which are easier to test and verify. It can also produce products in a matter of hours, compared to the weeks it can take with traditional manufacturing methods.
The technology has a wide range of applications, from creating functional prototypes to producing end-use parts. It has become a key tool for manufacturers across many industries, from aviation and aerospace to automotive and consumer goods.
In aerospace, for example, engineers are using additive manufacturing to create lightweight parts that save fuel and reduce carbon dioxide emissions. It also allows them to make parts that have complicated geometries, which isn’t possible with more traditional manufacturing methods.
Another advantage of additive manufacturing is that it produces much less waste than subtractive methods, like CNC machining and injection molding. This makes it an environmentally friendly option, as it consumes minimal resources and uses materials only where they’re needed.
Moreover, 3D printers can be used to produce spare parts and tooling on demand, which can help reduce inventory by bypassing a costly storage process. Siemens Mobility, for instance, uses 3D printers to produce spare parts and tooling on demand at its RRX Rail Service Centre, which receives over 100 trains per month.
One of the most common ways that 3D printing is used is through stereolithography, a process in which a UV laser shines into a vat of ultraviolet-sensitive photopolymer. The polymer hardens layer by layer according to the instructions in a CAD or CAM file.
Other techniques include material jetting, which uses a jet of plastic resin to build up parts. These processes can be costly, but they are helpful for making large-scale, high-quality parts that are difficult to fabricate through other means.
In addition, they allow companies to create personalized products, which are often difficult to manufacture by traditional methods. PepsiCo, for example, recently used 3D printing to produce a range of Ruffles flavors in different colors and shapes, allowing it to deliver these products faster than before.
3. Keep Your Prints and Files Organized
While there are many things to keep in mind when designing and 3D printing, one of the most important is keeping your prints and files organized. This will help you avoid problems such as a poor print, or one that require additional work to fix.
Taking the time to organize your prints can be as simple as labeling each box or bin and making a list of the contents. This will allow you to easily find what you need when the time comes.
It’s also a good idea to save a digital copy of every project that you print. This will allow you to see what the original looked like, and it will make reprinting the project much easier in the future.
Another way to stay organized is by establishing a folder structure for each project. This will help you keep track of the steps your project takes, and it’s especially helpful if you are working on multiple projects at once.
Once you’ve established this structure, rename each file in that folder using the same sequence number so that everything is easy to find. This will save you a lot of time in the future.
If you use a digital camera, it’s also important to make a point of renaming each photo as you take it, so that the photos are easily identified when you go to download them from your camera. It might be a small task, but renaming your files this way can make them easier to locate when it comes time to upload them to your website or share them with others.
Lastly, if you’re a photographer, it’s a good idea to create a dedicated folder for any edited or exported images that you have. Creating this folder makes it easy to locate these images on your computer, and it will make it much easier for others in the future to come along and edit them if necessary.
It’s not easy to be successful in this world, but if you follow these tips and try your hardest to stay focused, you will be able to make progress toward your goals. Identify what success means to you and what you want to achieve, then put actionable steps into place to make it happen.
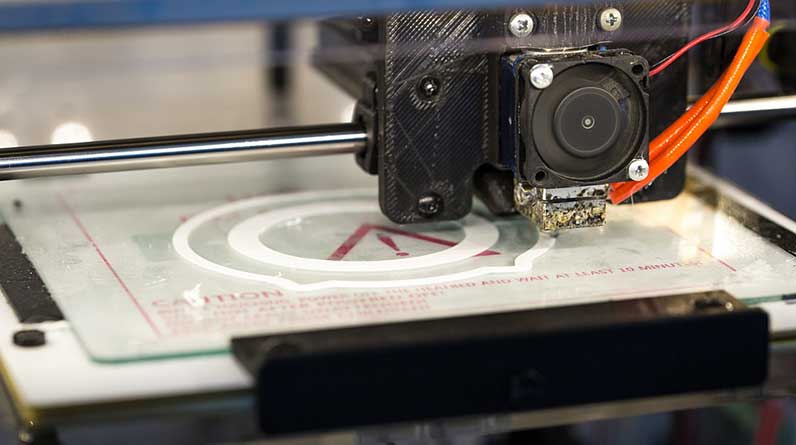
4. Test Your Prints
If you have a 3D printer, it’s important to test your prints regularly to ensure that everything is working properly. This will help you to avoid any unforeseen issues, and it will also enable you to identify problems before they become major issues.
There are a number of things you can do to test your prints, and it’s important that you take the time to do so. You should try to print a variety of different files, including a file with a high resolution and one with a low resolution. This will allow you to see how well your prints turn out, and it will give you a good idea of what settings will work best for you.
For example, if you are using a high-resolution model, it may be more efficient to print with a higher layer height than one with a lower one. This will allow you to print a higher number of parts, and it will reduce the amount of time it takes to print each part.
You should also be aware that some printers use different nozzles, and these can affect how your print turns out. If you notice any gaps or a curved appearance to your print, it may be time to replace the nozzles.
In addition, you should always check your printer’s platform to ensure it is level. This will prevent a lot of headaches during your printing process and will increase the quality of your prints.
Finally, it’s important to test your 3D printer by printing a test image that has been created specifically for that device. This will give you a better idea of how your printer performs and whether it is capable of producing the colors you need for the job at hand.
A good test image should include a smooth transition from black to gray and white, and it should have some detail in the image. The test image should also be fairly large, as you can easily spot any tonal shifts that might indicate that your printer is not able to produce the color space you are looking for.
Conclusion
In conclusion, 3D printing is an amazing tool to create products quickly and efficiently. By understanding the right materials to use, designing for 3D printing, keeping your prints and files organized, and testing your prints, you can maximize the potential of 3D printing and ensure that you produce the best possible results.